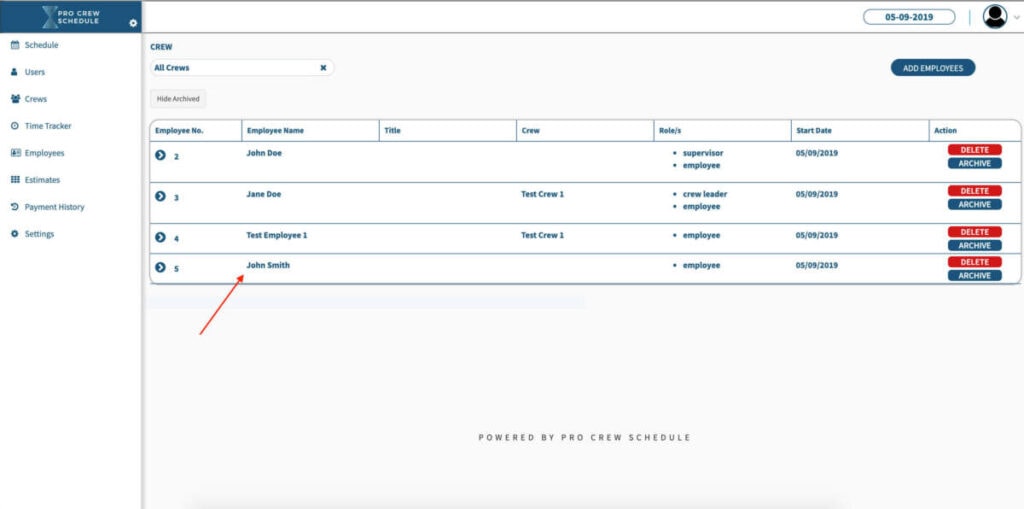
This is for adding an employee to the software, Administrator, Supervisor, Crew Leader,
Auditor and employee on a crew.
Watch it in Action
Step #1 Click Employees on the left side menu

Step #2 Click Add Employees

Step #3 Add all the employees information and click save

Employee No. – This is optional, and the number is unique to your company
First Name – Add their first name
Last Name – Add their last name
Crew – Select a crew for this employee and assign it. You must have added crews first before you can
assign an employee to a crew.
ROLES
Administrator – This is a paid user role, full access to everything. Billing, plan changes, credit card info, and all employee data.
Supervisor – This is a paid user role; they don’t have access to billing, plan changes, or credit.
Crew Leader – This is a paid role; crew leaders only see their schedules and add time to Time Tracking.
Crew Member – This role is used for employee-based scheduling.
Auditor – This role is included in all plans; this role can only view and download data. They can not make any changes at all.
No Selection – If you don’t make a selection, the employee automatically defaults as an employee. You have unlimited employee roles is all pains.
Step #4 Employees is now on the list


